


How To Install The Android 16 QPR1 Beta On Google Pixel And Try The Big Redesign
Contents
While the stable build of Android 16 is not yet available, the major QPR1 update is already available in beta, bringing the big Material 3 Expressive redesign along with it. Here’s how to install Android 16 QPR1 Beta on Google Pixel.
What’s new in Android 16 QPR1?
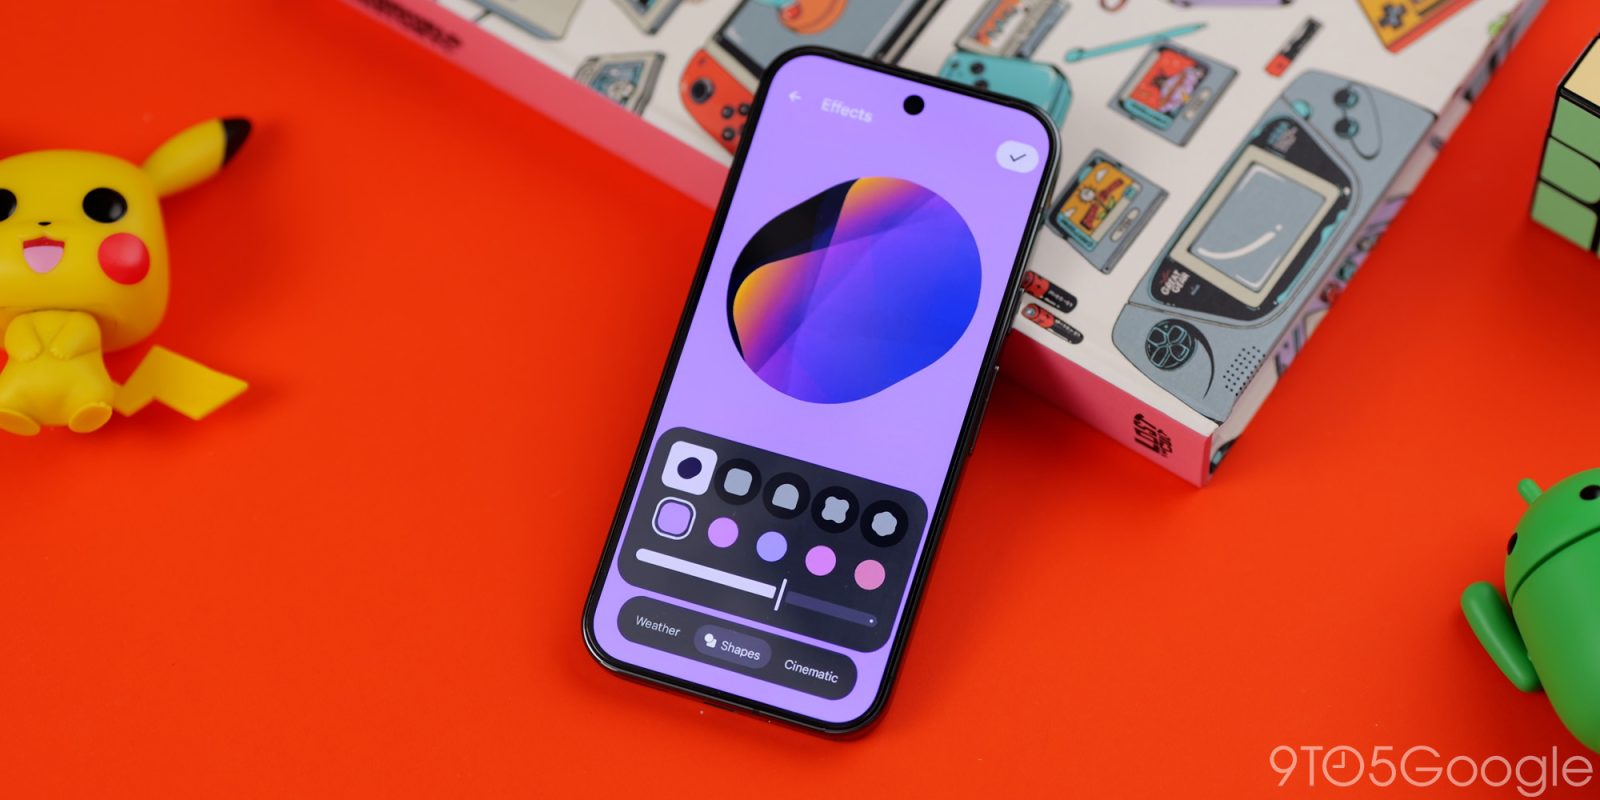
The Android 16 Beta was overall pretty tame, only bringing a handful of minor changes. But Google has spent months cooking up a new design for Android, Material 3 Expressive, which is debuting in Android 16 QPR1. You’ll find a revamped lockscreen, Quick Settings pane, and a new design language throughout the entire OS.
What Pixel devices can install the Android 16 QPR1 Beta?
As of now, all Google Pixel devices running on a Tensor chip are supported for Android 16 builds. The current list of supported devices includes:
- Pixel 6
- Pixel 6 Pro
- Pixel 6a
- Pixel 7
- Pixel 7 Pro
- Pixel 7a
- Pixel Tablet
- Pixel Fold
- Pixel 8
- Pixel 8 Pro
- Pixel 8a
- Pixel 9
- Pixel 9 Pro
- Pixel 9 Pro XL
- Pixel 9 Pro Fold
- Pixel 9a
How to install Android 16 QPR1 with the Android Beta Program on Pixel
To get set up with beta releases of Android 16 QPR1, you’ll visit google.com/android/beta and “Opt in” on your selected device. Any compatible Pixel (listed above) with your same Google account will be able to join the program on this page. Once opted in, you’ll be able to check for updates on your device to actually install the update. This usually happens within an hour, but can occasionally take longer.
How to sideload Android 16 QPR1 Beta on Google Pixel
By far, the fastest way to get a new version of Android on your Pixel is to sideload it. It’s a relatively easy process, but you’ll need to get set up to do it. Here’s how.
- Download the needed files.
- Boot into Recovery mode.
- Navigate to ADB sideload.
- Connect the handset to a computer with ADB tools installed.
- Enter the sideload command.
- Reboot your phone.
IMPORTANT: While Android Beta releases are typically safe, it’s in your best interest to either unlock your bootloader or, at the very least, turn on OEM Unlock in developer settings BEFORE installing an OTA file.
1. Download Android 16 QPR1 Beta files
To get started, you’ll first need to download the files needed to actually put Android 16 QPR1 Beta 1 on your Pixel.
There are two ways to do so. First, you can install a Factory Image, which wipes your phone and starts everything from scratch. Alternatively, and the way we’ll detail here, there’s an OTA file, which installs over your current version of Android without wiping your phone.
You can download the beta OTA file from Google’s Full OTA Image hosting site. That site contains OTA downloads for sideloading different updates, including the Android 16 QPR1 Beta, on every Pixel and Nexus device, so you’ll need to scroll down to ensure you are downloading the file that is associated with your device. OTA downloads for Android 16 QPR1 Beta 1 are provided HERE.
For the Android 16 Beta, only Pixel 6/Pro, Pixel 6a, Pixel 7/Pro, Pixel 7a, Pixel 8/Pro, Pixel 8a, Pixel Fold, Pixel 9, Pixel 9 Pro, Pixel 9 Pro XL, Pixel 9 Pro Fold, Pixel 9a and Pixel Tablet are available.
You won’t be able to install it on the original Pixel/XL, Pixel 2/XL, Pixel 3/XL, Pixel 3a/XL, Pixel 4/XL, Pixel 4a, Pixel 4a 5G, Pixel 5, or Pixel 5a.
2. Boot into Recovery mode
Next, you’ll boot your Pixel into Recovery mode. To do this, fully power down your handset. Then hold down on the Power button and the Volume down button at the same time until you get to the Bootloader page. You will know you’re in the right place when you see an Android figure lying down on the screen.
Using your volume buttons, scroll down to Recovery mode. Select this by clicking the power button. Alternatively, if you’re already connected to a computer with ADB, you can use the reboot recovery command.
Now, you should see a smaller Android lying down with an exclamation mark over it. From here, press the Power button and the Volume up button for about a second to fully enter Recovery mode. Releasing the Volume up button will send you into Recovery.
3. Navigate to ADB sideload
Using the volume buttons, scroll down to Apply update from ADB and select it with the power button. This will launch a mostly blank screen with text near the bottom directing you on how to sideload an OTA.
4. Connect the handset to a computer with ADB tools installed
This step is important as it’s the only way to transfer the downloaded OTA file to your handset. You’ll need to have ADB and Fastboot tools in a handy place. You can download ADB tools from the Android Developers website, either by installing Android Studio as a whole or the Command Line tools. You can also use the Universal ADB Drivers from ClockWorkMod, which can make the process a bit easier on Windows devices.
Personally, I unload the tools from the Android Developers website and add a shortcut to “cmd.exe” for a quick and easy installation method. For this, you’ll need to put the downloaded software build into the same folder as the “cmd.exe” file.
5. Enter the sideload command
As long as everything is in place, you can now sideload the OTA file. On Windows, ensure your Command Prompt is directed to the ADB tools folder and type in adb sideload. If you’re on macOS or Linux, do the same thing in Terminal (use “cd” and “ls” commands to make sure your Terminal is pointed at the right folder – Google it if you need help) but type in ./adb sideload. You’ll then need to insert the file name of the .zip folder you downloaded from Google and hit enter to start the process.
If everything is working properly, you should see some dialog on your computer and handset that shows the process of the sideload and installation process.
6. Reboot your phone
Once the OTA is done installing, you will be taken back to Recovery Mode. The last step to jump into the new update is to select the Reboot now option with your power button.
Questions? Let us know in the comments.
Add 9to5Google to your Google News feed.
FTC: We use income earning auto affiliate links. More.
