


10 Simple Google Pixel 9a Camera Techniques That Transformed My Photography
Contents
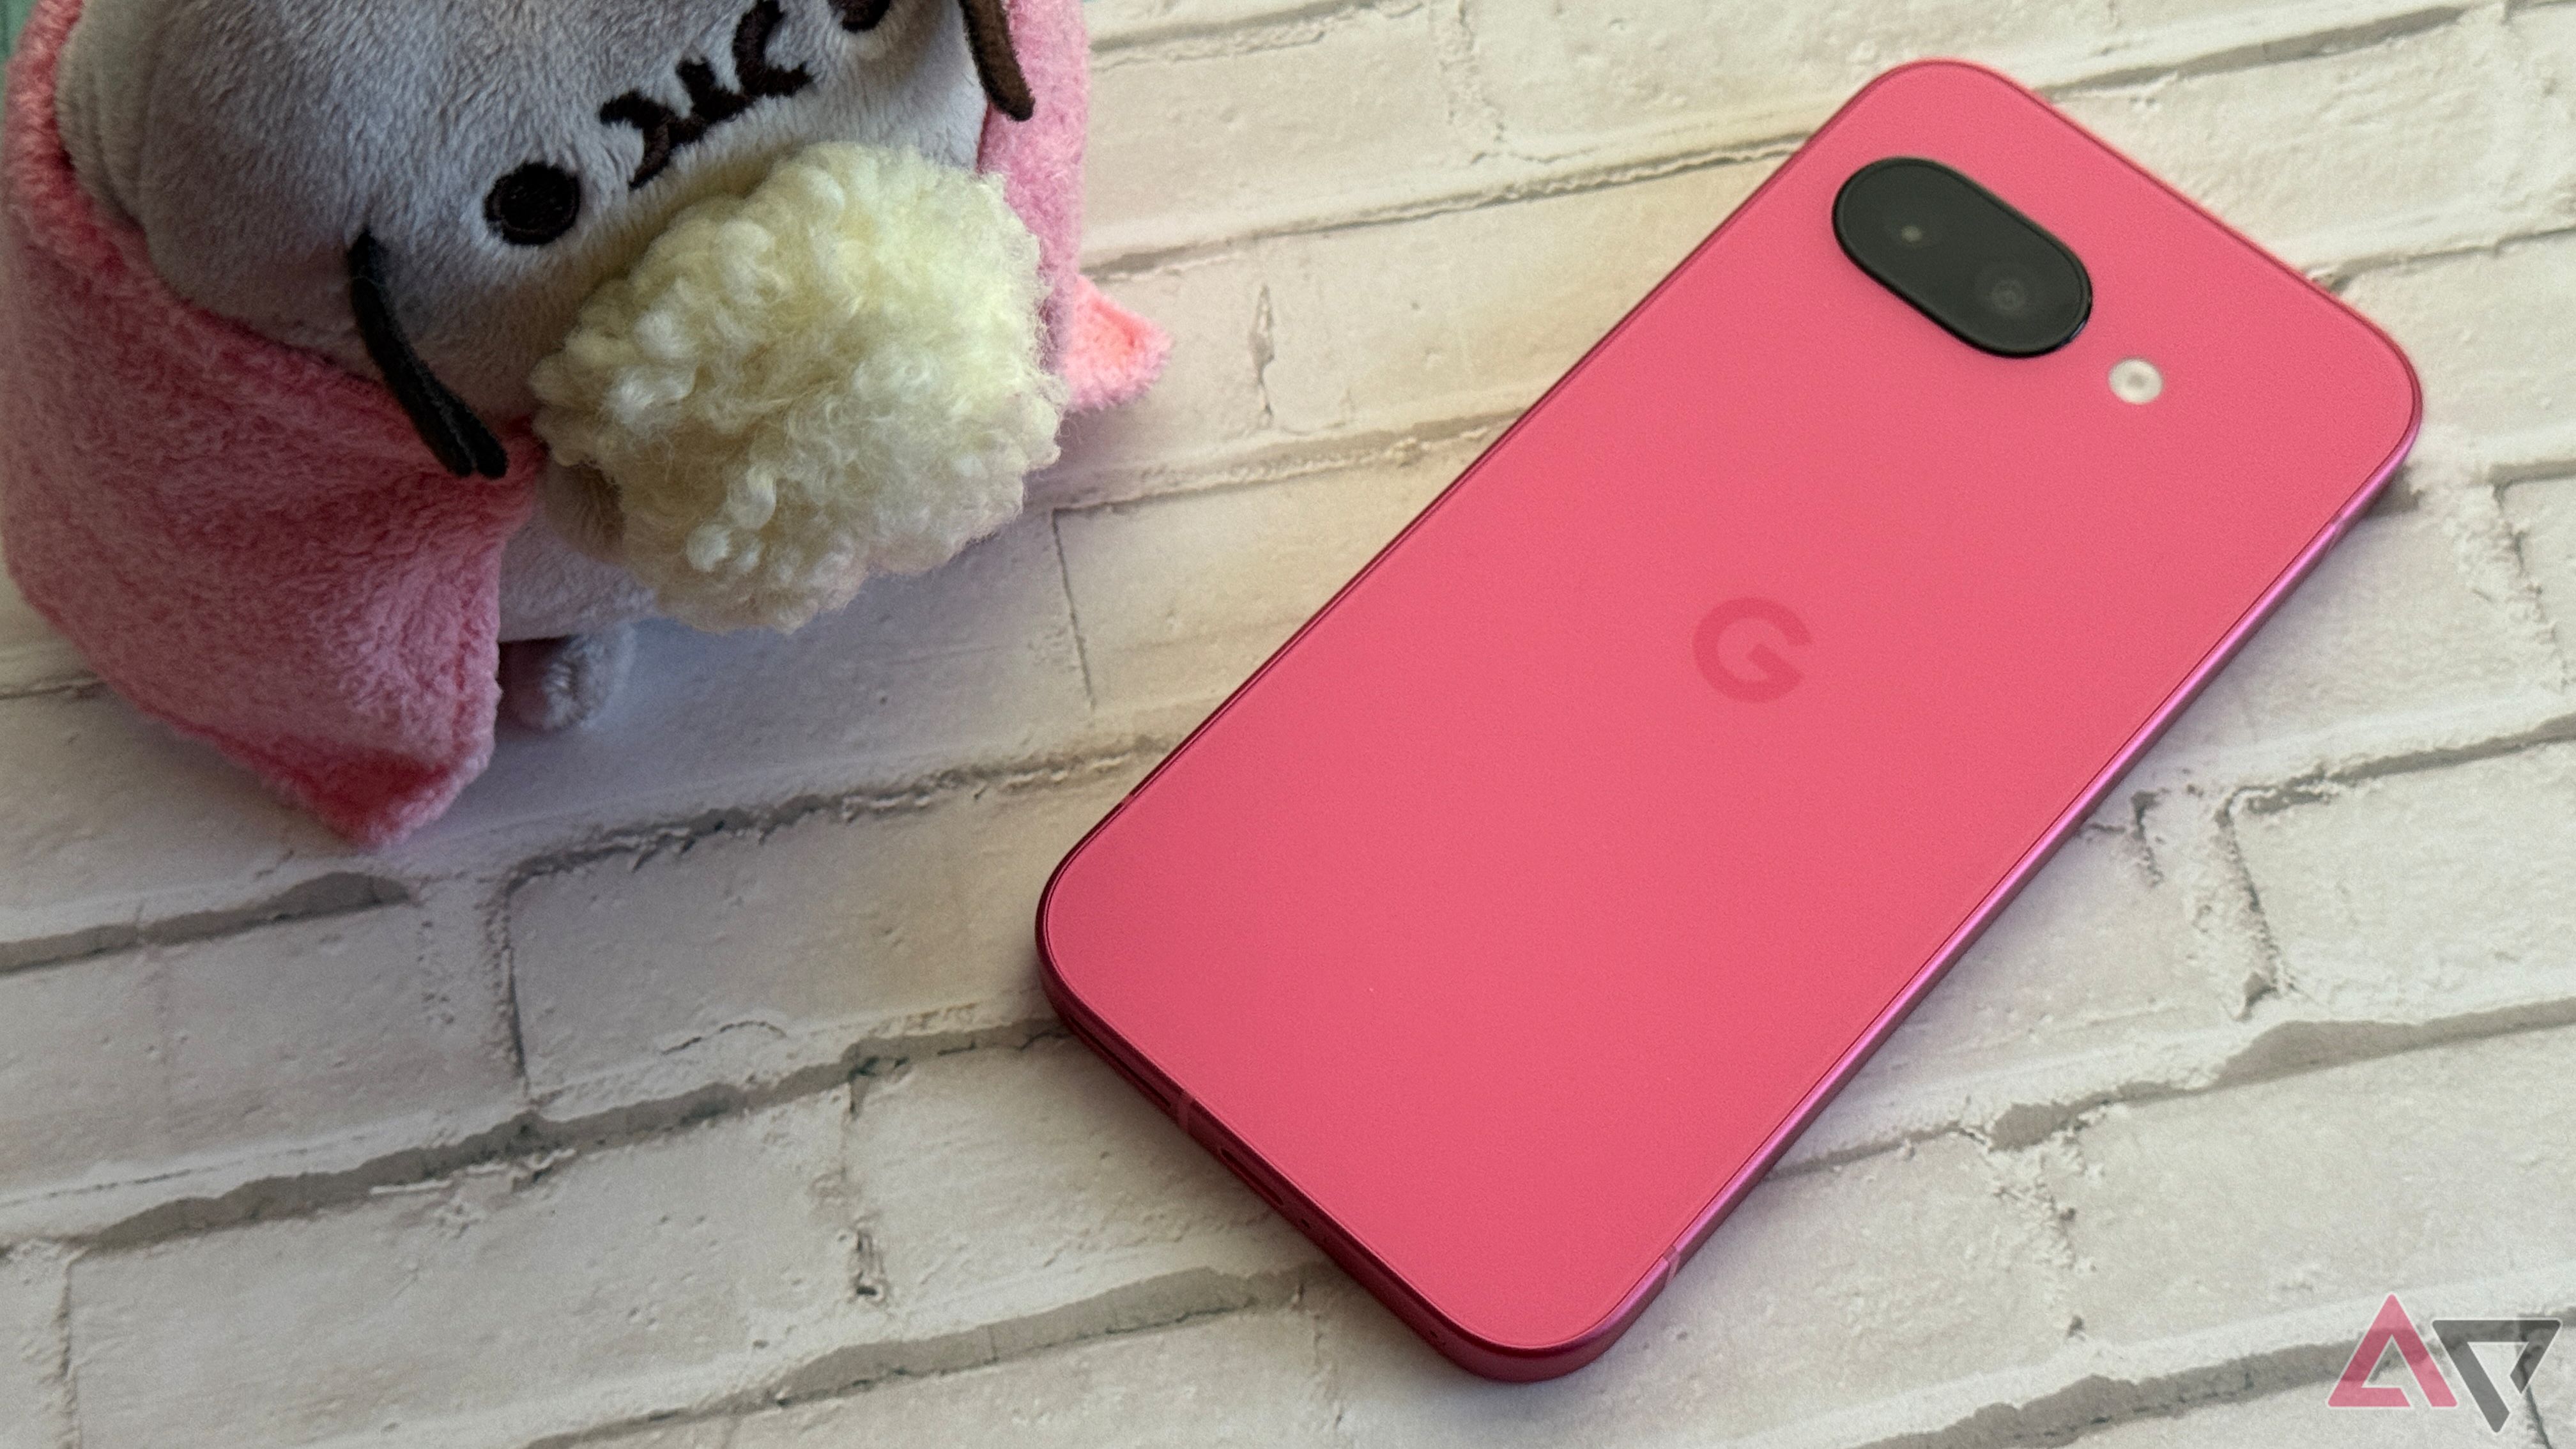
The Google Pixel 9a is a mid-range device. Despite its budget-friendly positioning, it delivers an impressive photography experience powered by Google’s computational imaging. Here are Pixel 9a camera techniques that improve your photos with minimal effort and maximum effect.
Read our review
10 Capture low-light scenes without using flash
Night Sight relies on computational photography. It automatically detects dim scenes and stacks multiple exposures to produce a sharp, low-noise image without using a flash or a tripod. To use it, open the Camera app and select Night Sight mode. It also turns on automatically in low light. Tap the shutter and hold the phone steady. A timer appears during which the sensor collects light for a few seconds.
The result is a bright, colorful photo of a low-light scene. Night Sight is excellent for shooting urban scenes after sunset. It’s equally effective indoors at dimly lit restaurants, parties, or events without causing harsh glare from flash photography.
Night Sight automatically switches to Astrophotography mode when it detects very dark conditions and the phone is perfectly still. Because it uses long exposures, a slight shake can blur the image. For this reason, a mobile tripod or stable surface is essential. This is ideal for photographing the Milky Way in the countryside and starry skies on a camping trip without a professional setup.
Related
9 Take sharp close-ups without a macro lens
Source: Google
The Pixel 9a’s Macro Focus lets you capture fine details that are invisible from a distance. Unlike phones with dedicated macro lenses, the Pixel 9a uses its main camera and autofocus for macro photography. Macro Focus kicks in when you move the camera close (about 3cm to 4cm) to your subject. It’s perfect for creative shots that highlight small textures. Capture the patterns on an insect’s wing, the fine weave of fabric threads, or a flower petal’s surface details.
8 Create a depth effect and make your subject stand out

Portrait Mode blurs the background behind your subject. On the Pixel 9a, this works with the rear and front cameras. Open the Camera app, select Portrait mode, then frame your subject and tap Capture. After taking the shot, adjust the blur amount. Open the photo in Google Photos, tap Edit > Tools > Blur, and move the slider to your liking.
Portrait mode is great when you want to isolate the subject. Leave space between your subject and the background for the best blur effect. This helps Pixel 9a create a more pronounced depth look.
7 Add motion blur to fast-moving scenes and long exposure for the flow effects
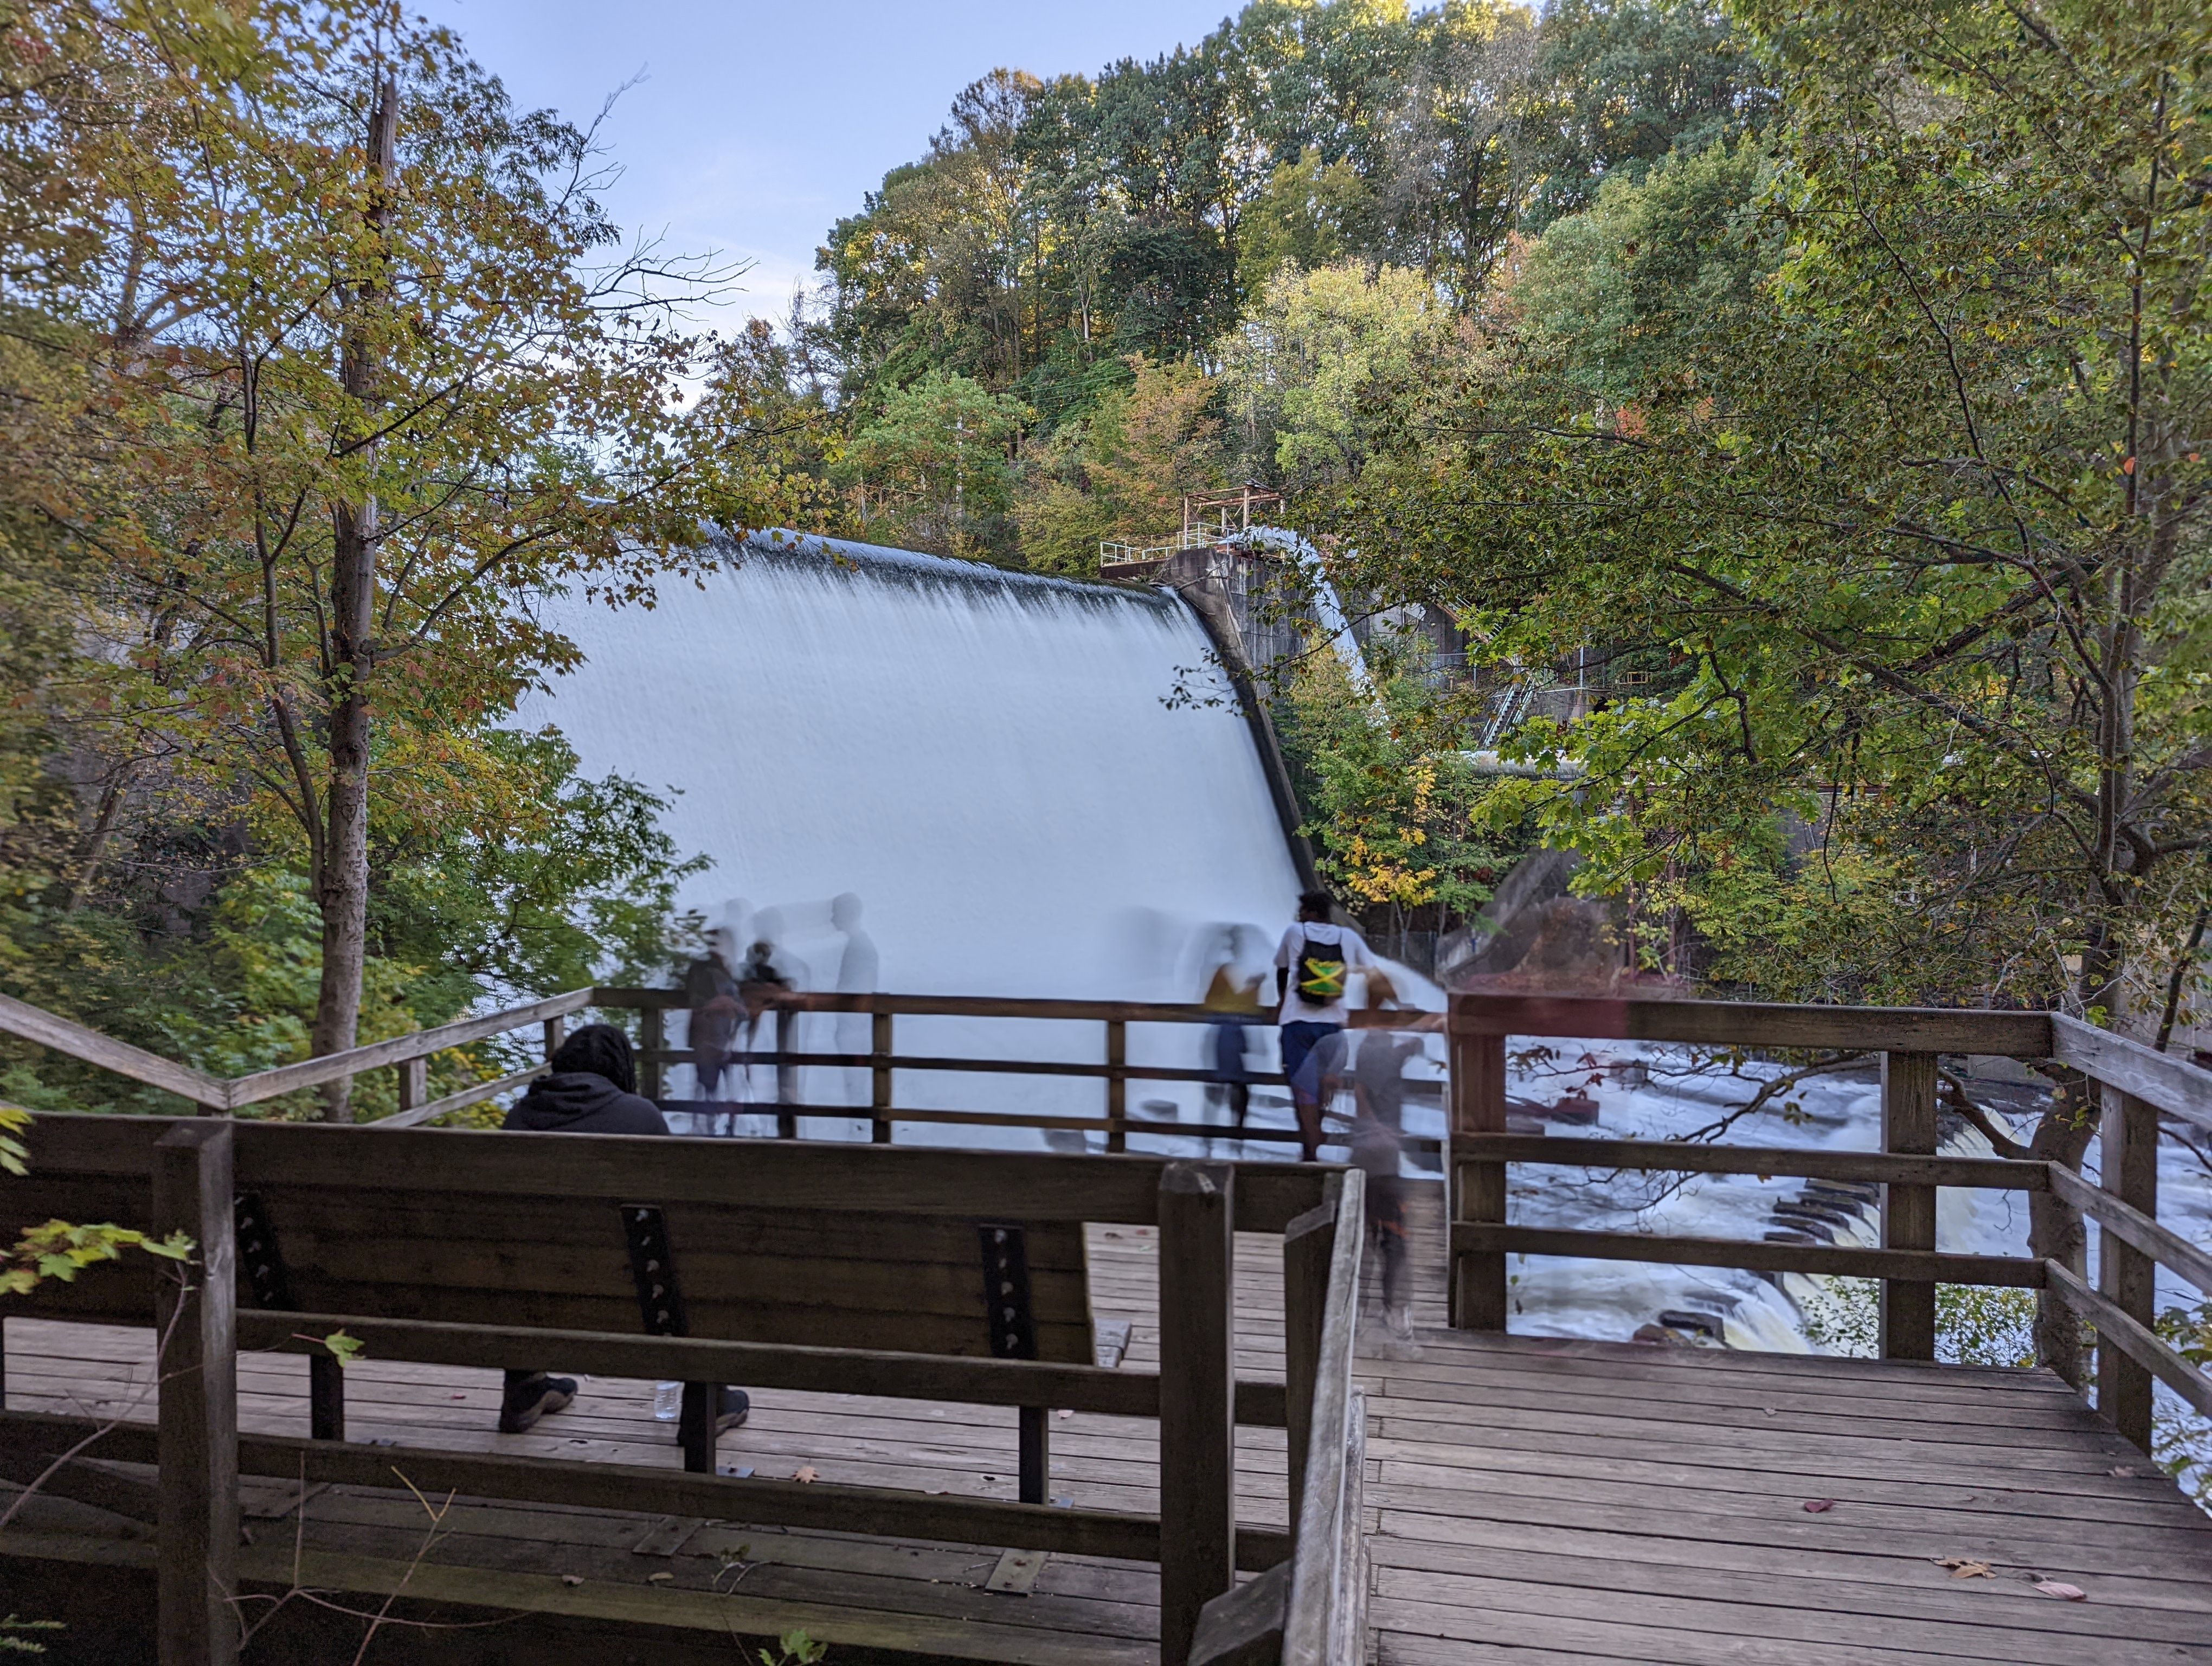
The Pixel 9a’s Motion Mode adds artistic blur to your images. Choose between Action Pan and Long Exposure. To find these options, open the Camera app and select Motion mode from the mode carousel.
Action Pan creates a sharp subject with a motion-blurred background, giving the impression of motion. Follow (pan) the moving subject with your camera. When the subject fills the frame, tap Capture. This is great for capturing a friend running, a passing car, or fast-paced sports moments like a soccer player sprinting down the field.
Long exposure blurs moving objects to create the impression of flow. When you choose Long Exposure, keep the phone stationary on a tripod or stable surface, and tap Capture. The Pixel records a longer exposure automatically. Turn flowing water into soft streams at a waterfall, capture light trails from cars on a busy road, or blur a crowd’s movement in a busy street scene.
6 Use Ultra HDR to improve contrast in tricky lighting conditions
Use Ultra HDR mode on the Pixel 9a to capture scenes with bright highlights and deep shadows. HDR merges multiple exposures, allowing the camera to retain detail in the brightest and darkest parts of the image. This is something a single shot often can’t achieve.
For example, when photographing a landscape at sunset, HDR keeps the sky rich without darkening the land below. Indoors, it balances window lights with shadowed interiors to capture a well-lit portrait without blowing out the background.
To use Ultra HDR mode, open the Camera app, go to Settings > More settings > Advanced, and turn on Ultra HDR. Ultra HDR effects don’t appear the same on older screens that do not support HDR or when printed.
5 Improve color accuracy with extended color gamut
Use Display P3 capture on the Pixel 9a to photograph a wider color gamut than standard sRGB, making your images appear more vibrant. To use it, open the Camera app, go to Settings > More settings > Advanced, and turn on Rich Color in Photos.
P3 photos appear less vibrant on non-P3-compatible devices or older screens, so consider where you plan to share them. Not all printers reproduce the wider P3 color gamut, so consider this if you plan to print these photos. Colors may look slightly muted in physical prints.
Related
4 Shoot in RAW for better control in post-processing
RAW files retain more image data than compressed JPEGs. During post-processing, this gives you greater control over exposure, white balance, shadows, highlights, and color. This is for professional and enthusiast photographers who want creative freedom when editing in apps like Adobe Lightroom or Photoshop.
To save photos as RAW files, open the Camera app, go to Settings > More settings > Advanced, and turn on RAW/JPEG control.
RAW files are larger and take up storage. Use them selectively for key shots where you plan to fine-tune the final look. For example, if you shoot a dimly lit concert, a RAW file lets you recover shadow detail or adjust overexposed highlights later.
3 Remove unwanted objects from your photos
Source: Google
Magic Eraser is a Google Photos editing tool that removes distracting objects or people from your shots. Using AI, it identifies subjects like photo bombers, power lines, or trash, and naturally fills the space.
To use Magic Eraser, open the photo in Google Photos, tap Edit > Tools > Magic Eraser. The Pixel automatically suggests items to remove (they are highlighted). Tap to remove those or draw a circle around any object you want gone. Carefully zoom in and trace around the object for the best results.
Complex or foreground subjects may require multiple taps.
Related
2 Recover soft or unclear facial features in your photos
Source: Google
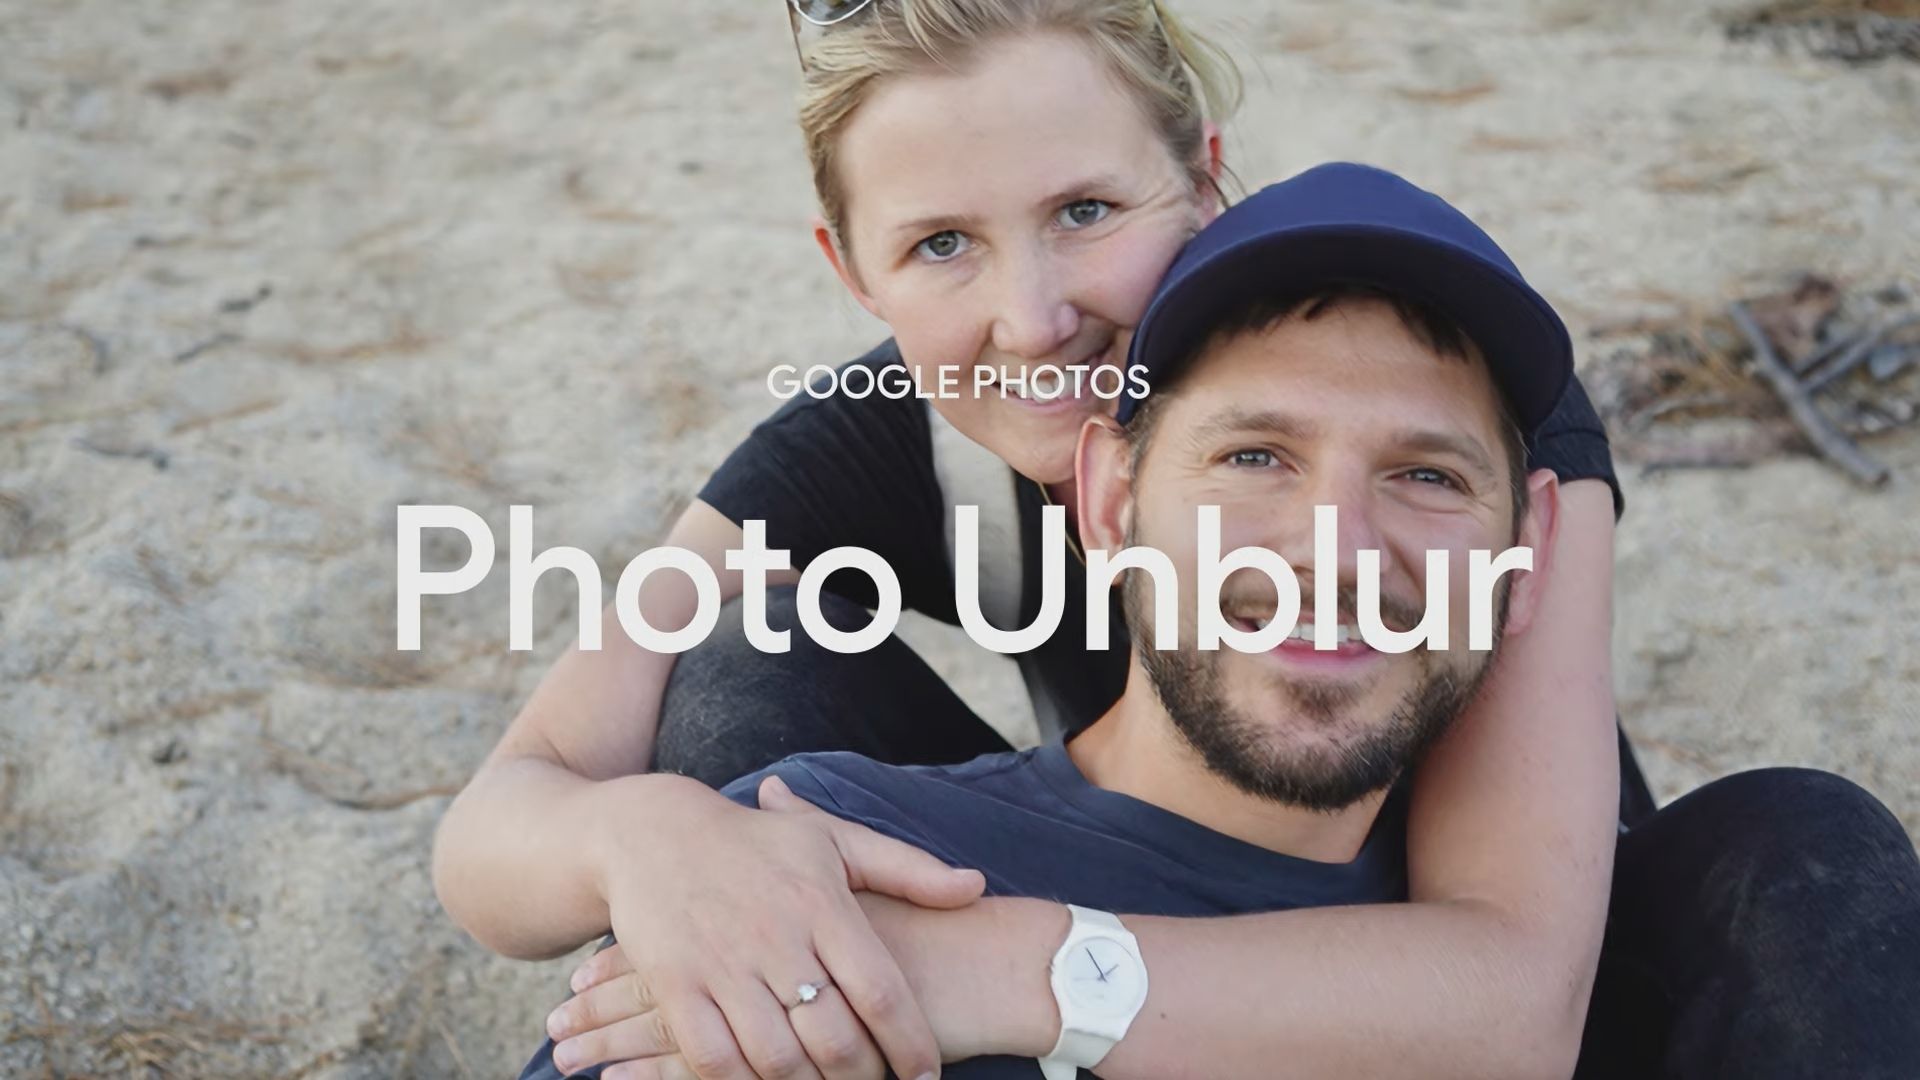
Photo Unblur in Google Photos fixes slightly blurry photos. Powered by Pixel’s AI, it uses facial recognition to clarify a subject’s eyes and facial details. If your shot came out smeared, open the photo, tap Edit > Photo Unblur, and let Pixel re-process it. This is perfect for saving a shot where motion softened facial details. You can rescue meaningful moments that might have otherwise been unusable.
1 Keep your shots level with visual guides
Use Framing Hints on the Pixel 9a to help align your shots. Framing Hints display yellow and white guidelines that show when your phone is level. This is useful for city skylines or architectural photos where a tilted angle can throw off the composition.
To use Framing Hints, open the Camera app, go to Settings > More settings, and toggle Framing Hints. Rotate the phone until the lines meet, and the angle reads zero for an aligned shot.
Use your Pixel 9a as a creative photography tool
The Pixel 9a’s camera is a capable tool packed with exciting features. In the camera department, these features help casual users capture professional-looking images from their phone. If you want to improve your mobile photography, mastering these features is an accessible way to get there.
- SoC
- Google Tensor G4
- RAM
- 8GB
- Storage
- 128GB, 256GB
- Battery
- 5,100mAh
Google’s Pixel 9a takes everything that was great about the Pixel 8a and looks to modernize it. With an all-new Pixel 9-inspired look and no camera bump, this might be the best $500 smartphone we’ve seen yet.
